Why Most Peel & Stick Tiles Fail (And How to Make Sure Yours Don’t)
Let’s be honest for a second.
If you’ve ever thought about buying peel & stick tiles, one question has definitely crossed your mind:
“Yeh sach mein chipkega ya 2 din baad nikal jayega?”
And honestly, it’s a valid concern.
Because if you go online, you’ll see two types of reviews:
- “Amazing transformation, totally worth it!”
- “Waste of money, started peeling in a week”
Same product category. Completely opposite experiences.
So what’s going on?
Here’s the truth no one tells you:
👉 Peel & stick tiles don’t fail because they are bad. They fail because of how they are used.
And once you understand this, you’ll never make a wrong decision again.
Let’s break it down.
The Reality: Tiles Don’t Fail. Installation Does.
Most brands will try to convince you that their adhesive is “extra strong” or “3X better.”
But here’s the uncomfortable truth:
👉 Even the best adhesive in the world will fail on the wrong surface.
This is exactly why across the industry:
- Adhesion issues are the #1 complaint
- Installation mistakes are the #1 reason behind returns
So instead of selling you dreams, let’s show you reality.
5 Real Reasons Why Peel & Stick Tiles Fail
1. Dirty or Oily Surface (Biggest Mistake)
This is the most common and most ignored reason.
Imagine this:
You’re sticking something on a surface that has:
- Cooking oil
- Dust
- Moisture
- Invisible grease layer
And you expect it to hold?
That’s like applying a band-aid on wet skin.
Real-life scenario:
A customer installs tiles in the kitchen directly over the backsplash without cleaning.
First day: Looks perfect
Day 3: Corners start lifting
Day 7: Tiles start peeling
And the blame goes to the product.
How to fix it:
- Clean the wall with soap or degreaser
- Wipe it with a dry cloth
- Let it dry for at least 30–60 minutes
👉 If the surface is not completely clean and dry, don’t even start.
2. Wrong Wall Type (Not Every Wall is Compatible)
This is where most people go wrong.
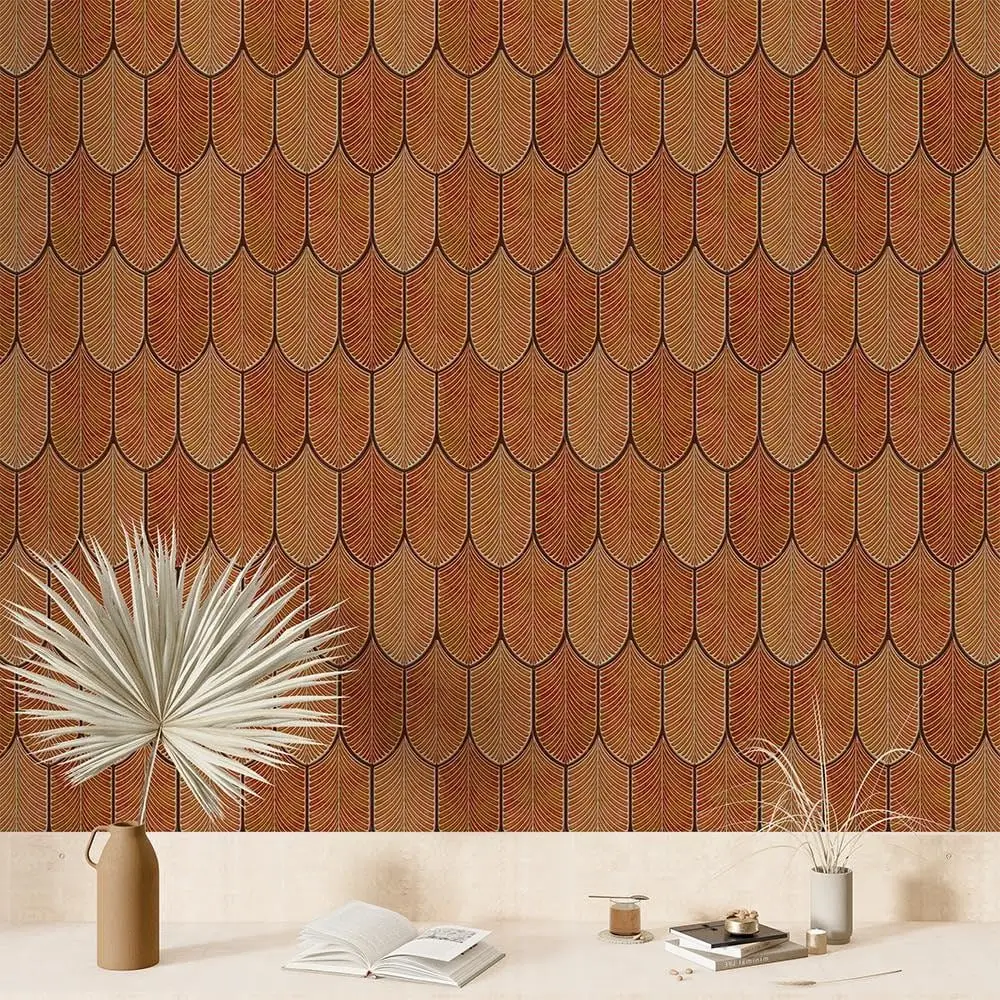
Peel & stick tiles are designed for:
- Smooth tiles
- Marble
- Granite
- Glass
- Painted smooth walls
But people try installing them on:
- Rough cement walls
- Textured paint
- Damp or seepage walls
And then say: “Product bekar hai.”
Reality check:
👉 Adhesive needs a flat contact surface to bond properly.
No contact = no grip.
How to fix it:
- Run your hand on the wall
- If it feels uneven → it’s not ideal
Use a primer or laminate sheet first if needed
3. Moisture & Dampness (Silent Killer)
This one is dangerous because you can’t always see it.
Even if your wall looks dry, there could be:
- Internal dampness
- Bathroom humidity
- Seepage
What happens:
Moisture slowly breaks the adhesive bond.
Tiles don’t fall immediately they fail over time.
Real-life mistake:
Installing tiles right next to a sink or on a bathroom wall without checking moisture.
How to fix it:
- Avoid walls with active seepage
- For bathrooms:
- Install on dry zones only
- Use extra adhesive support if needed
4. Rushing the Installation
This is where impatience kills results.
People treat it like:
“Sticker hi toh hai, chipka do bas.”
But good installation = clean finish + strong hold.
Common mistakes:
- Not aligning properly
- Peeling entire backing at once
- Not pressing evenly
Result:
- Air bubbles
- Weak adhesion
- Edges lifting
How to fix it:
- Peel gradually, not all at once
- Press from centre to edges
- Use a roller or cloth for firm bonding
👉 Installation is a 30-minute job. But doing it right makes it last for years.
5. Low-Quality Tiles (Yes, This Matters Too)
Let’s not ignore this.
Not all peel & stick tiles are the same.
Cheap tiles:
- Thin material
- Weak adhesive
- Plastic-like finish
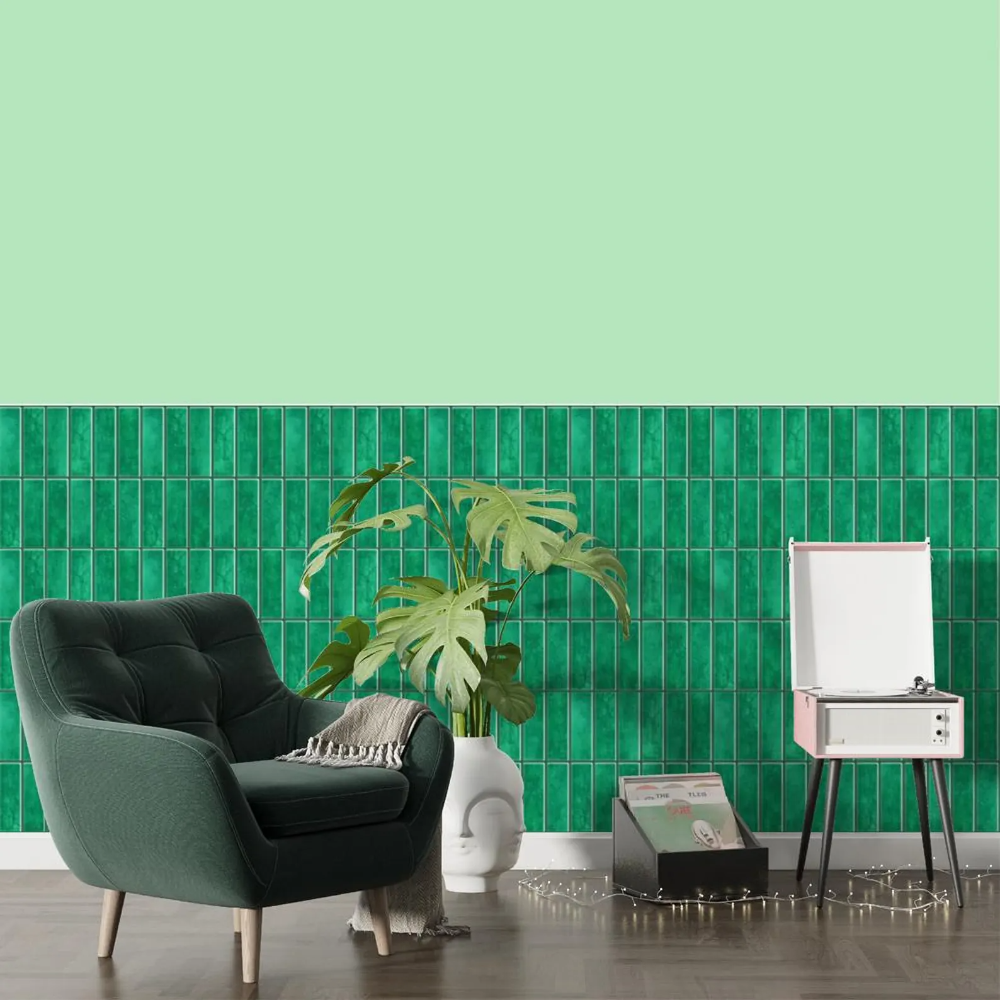
Premium tiles:
- Thicker structure
- Better grip
- More realistic look
Why this matters:
Thin tiles don’t:
- Cover wall imperfections
- Hold shape over time
What to look for:
- Thickness
- Material (polyurethane performs better than basic PVC)
- Finish quality
👉 This is where brands like Mosaicowall focus not just looks, but performance.